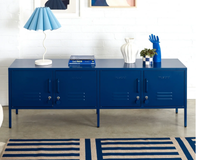
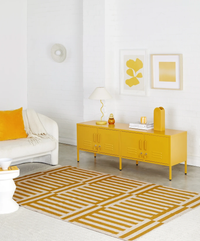
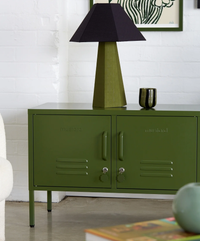
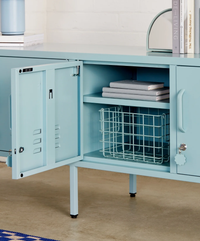
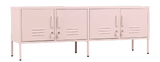
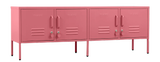
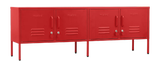
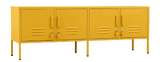
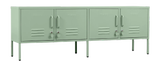
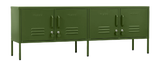
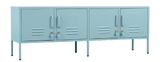
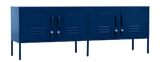
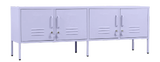
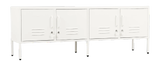
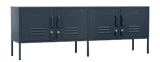
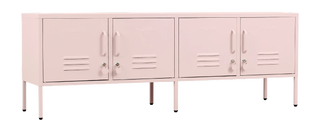
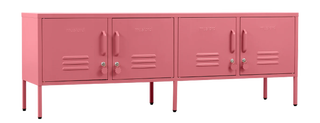
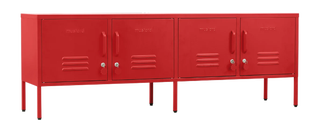
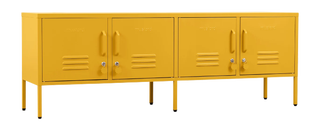
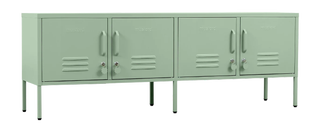
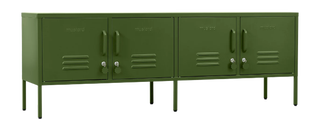
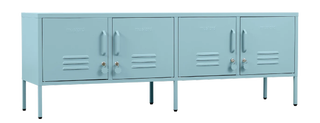
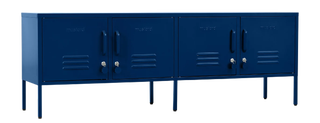
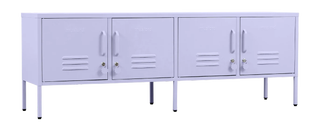
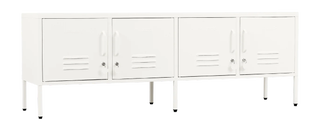
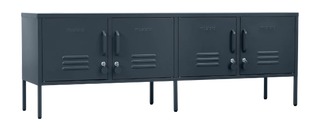
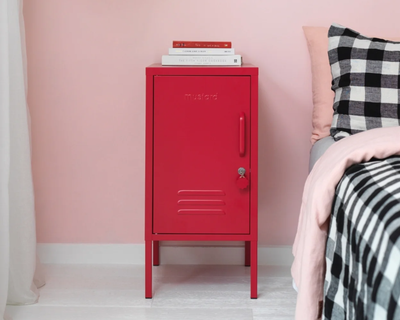
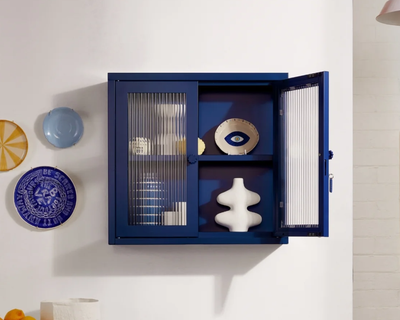
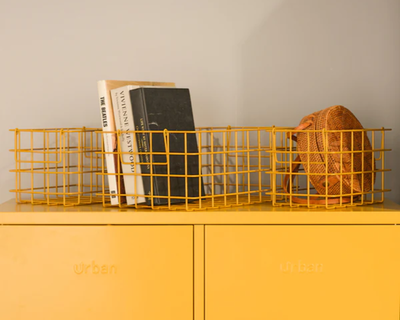
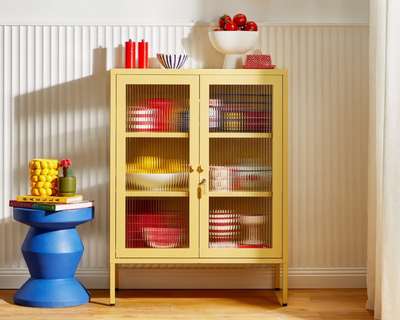
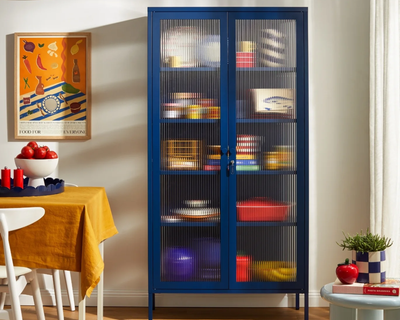
From large TV unit to storage hero, The Standard is a long, lean multitasking queen. Inside, you'll find four adjustable shelves and a handy hook inside each door. On the outside, you'll find two cable holes, two wall attachment points, four lockable doors, custom key rings, air vents and a subtle embossed 'mustard' on each door, to let you know it's the real deal. Plus, the whole locker is smooth, matte and magnetic.
Colors
Let recipient choose
Your recipient can choose the option they prefer.
Blush
Berry
Poppy
Mustard
Sage
Olive
Ocean
Navy
Lilac
Chalk
Slate
No address needed
- Dimensions: 63.8" L x 15.7" W x 22.4" H - Internal Dimensions: 12.5" H x 14.5" Depth - Central divide - Adjustable shelves - Wall attachment points - Handy hooks - Cable hole
- Please note this product is final sale
- How to secure locker door: - Step 1: At the top of the door, insert the L-shaped post into position through the holes - Step 2: Push the tap up. This holds the door in place - How to secure locker to wall (with no skirting boards): - Step 1: Stand the locker flush against the wall in your chosen spot - Step 2: From inside your locker, mark the wall at the top of the slots - Step 3: Select the appropriate fixing type for your wall; consult a qualified tradesperson for advice - Step 4: Screw your fixings through the slots - How to secure the locker to the wall (with skirting boards): - Step 1: Measure the depth of your skirting - Step 2: Source a piece of timber the same depth as your skirting and wider than the distance between the two slots on your locker - Step 3: Stand your locker flush against the skirting in your chosen spot - Step 4: From inside the locker, mark the wall at the top of the slots - Step 5: Place the timber against your wall, covering the marks - Step 6: Mark the best position for the screws to attach the timber to the wall. You want to align these with your wall studs - Step 7: Select the appropriate fixing type for your wall. If you need help, consult a qualified tradesperson for advice - Step 8: Use these fixings to attach the timber to the wall - Step 9: Place your locker flush against the timber in your chosen spot - Step 10: Screw the fixings through the slots into the timber